
Creating Reflections In Photoshop/Office 2007

If you look around at most advertising today, you more than likely will see some type of glossy reflection. Either its on a logo, Car, text, or basically any element its there. If you go to apple.com you will see just about every object has some type of reflection to it.

image image

In Microsoft Office 2007 they have actually built this feature right into the Photo Tools Special Effects. The Photo effects are really great features and if you don't have Photoshop this might be a good substitute for you.

image

To bring this blog back to Photoshop here are the steps you might take to create this effect.

  1. Create a base background color for your image. image
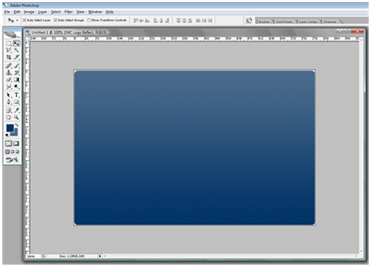
  2. Add in your graphic that you want to make a reflection of.
     image
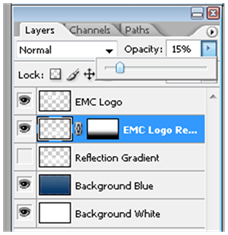
  3. In the layer panel, drag this layer on the "Create a new layer" Icon to Duplicate the layer 
    image
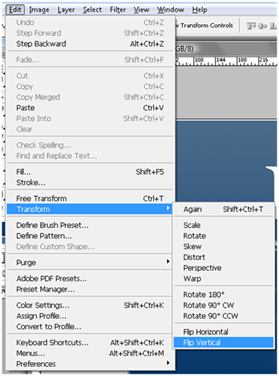
  4. Flip the duplicate layer Vertically
    image
  5. Move the layer just below the object
  6. Set the duplicate layer opacity to about 15%
    image
  7. Create a "Vector Mask" on the layer
    image
  8. Click on the Vector Mask and set your foreground and background to 100% black and 100% white.
    image
  9. Make a gradient from top to bottom of the duplicate object.
    image
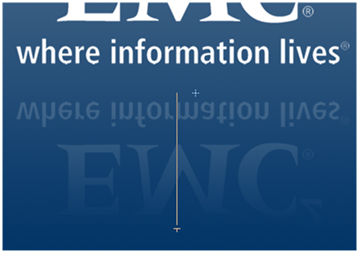
  10. If you want, you can add in a lighting effect to increase the visual look of the glass reflection.
    image
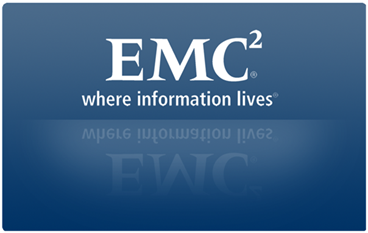
  11. Here is the same effect with a white background and the logo color changed to blue.
    image 

Comments

Popular posts from this blog

How To: Create Hyperlink to Modal Pop-Up Form

I was asked by a client recently if there was a way to create a hyperlink to a New Item Form anywhere within a site but still get the rich experience of the Modal pop-up window that grays out the background. (Note this is for SharePoint 2010 Only…) I basically took the code directly from the “Add new item” and the “Add Document” link within the list view. What this allows you to do is simply add in the following code to any content editor web part, Master page, or Page Layout in any site collection and display the form to be filled out. The user will get the nice experience of the modal window and not have to navigate away from their current page. This could be used for example a feedback form that is included in the master page so whenever someone wants to give feedback it is always going back to a central list. The only that is required for you to know is the List ID and the site name. Full Code For a List Item: <a onclick="javascript:NewItem2(event, &quot

SharePoint 2010 Base CSS Classes

This will be the first of many SharePoint 2010 posts. I will be focusing on a few of the main CSS classes used for SharePoint 2010 Public Beta. As the product becomes more final there might be some changes to the class names but I will be sure to create a new post if that happens. This will be quite a lengthy but it should be helpful. The default CSS given below are just highlights of the full CSS attributes for that class. I will be using a basic team site as my base for the screenshots. Here is a basic structure of the main areas that I will cover. Ribbon Row Table Row Left Site Actions Navigate Up Edit Tab List Browse Page Table Row Right Give Feedback Welcome Menu Workspace Body Container Title Row Title

SharePoint 2013 Responsive Table Columns

I have been wanting to write this one for a while now. It is really amazing how UX is really finding is way into everything that we use and interact with. From Custom applications both mobile and on a desktop to document management or large data visualizations. There is always room for better usability and new concepts. SharePoint lists and library functionality really has not changed much for the past 10 years... I remember back in 2003 when I saw the same table/grid based views of documents and list items that exists in SharePoint 2013. But now we can look at them in a whole new way! In this video blog you will see how to create a responsive CSS table so that when the browser size is reduced it will hide specific columns. However hiding data is not always the right thing to do. What if a user needed those columns to filter on or to use for comparison to another document? Well that is where the custom jQuery Column chooser comes in. It allows you to see what columns are displ